 Save
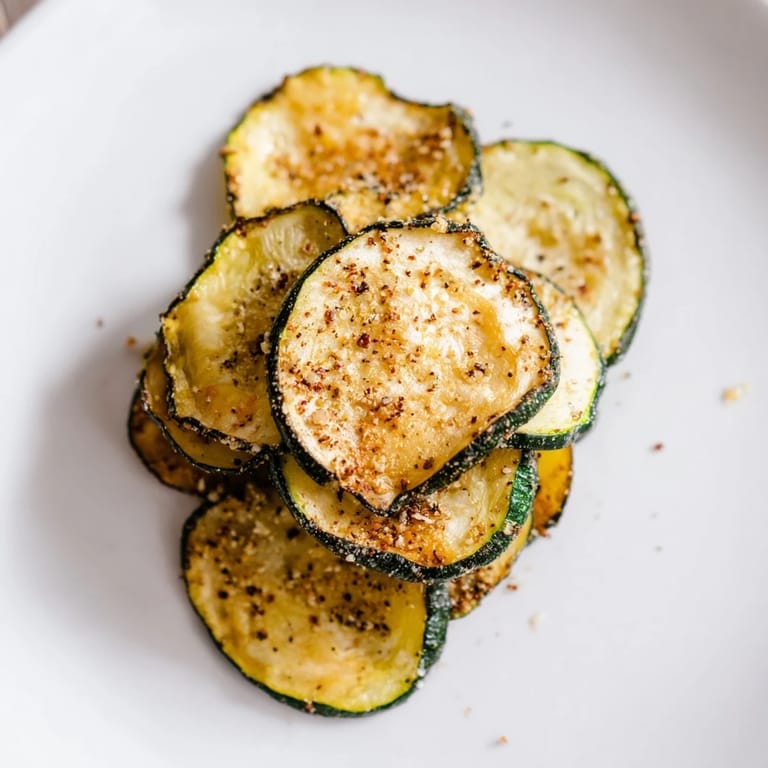
Save My garden produced more zucchini than anyone could reasonably eat, and after the fifteenth round of zucchini bread, I started experimenting. The day I pulled these chips from the oven, my roommate ate half the batch straight off the cooling rack and asked if I could make them every week.
I brought a bowl to a book club meeting thinking they might be a healthy alternative to the usual crackers, and watched them disappear before anyone even touched the cheese plate. Now theyre the first thing people ask about.
Ingredients
- 2 medium zucchinis: Pick ones that feel firm and heavy for their size, as watery vegetables never crisp up properly no matter how long you bake them
- 1 tablespoon olive oil: Just enough to help the seasonings stick without weighing down the slices
- 1/2 teaspoon sea salt: The coarse crystals give you those satisfying bursts of salty crunch
- 1/4 teaspoon freshly ground black pepper: Adds a little warmth that cuts through the vegetal taste
- 1/2 teaspoon garlic powder: Totally optional but I never skip it anymore
- 1/2 teaspoon smoked paprika: Gives these a subtle smoky depth that makes people think you worked harder than you did
Tired of Takeout? 🥡
Get 10 meals you can make faster than delivery arrives. Seriously.
One email. No spam. Unsubscribe anytime.
Instructions
- Set yourself up:
- Preheat your oven to 225F and line two baking sheets with parchment paper while you grab your vegetables and tools
- Slice thin and even:
- Cut the zucchini into rounds about 1/8 inch thick, and if you have a mandoline, this is the time to use it because consistent thickness means consistent crunch
- Get them dry:
- Pat each slice between paper towels until they feel tacky rather than wet, because excess moisture is the enemy of crispy chips
- Season them:
- Toss the slices in a large bowl with the olive oil and seasonings until every piece looks lightly coated
- Arrange carefully:
- Lay the slices in a single layer without overlapping, because crowded chips will steam instead of crisp
- The low and slow bake:
- Bake for an hour, then flip everything and rotate the pans before returning them for another 30 to 40 minutes until they look golden and feel dry
- The hardest part:
- Let them cool completely on the baking sheets, because they continue to crisp up as they lose that last bit of heat
 Save
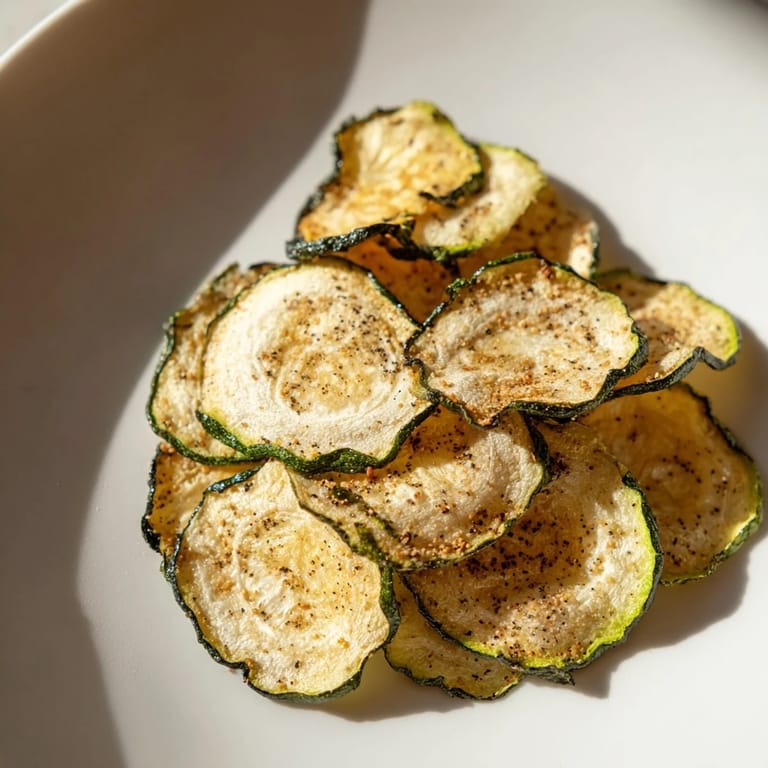
Save My niece helped me make a batch last summer, and we stood in the kitchen eating them warm off the pan while rain tapped against the window. She told me they tasted like summer afternoons, which might be the best review anything Ive cooked has ever received.
Make Them Your Own
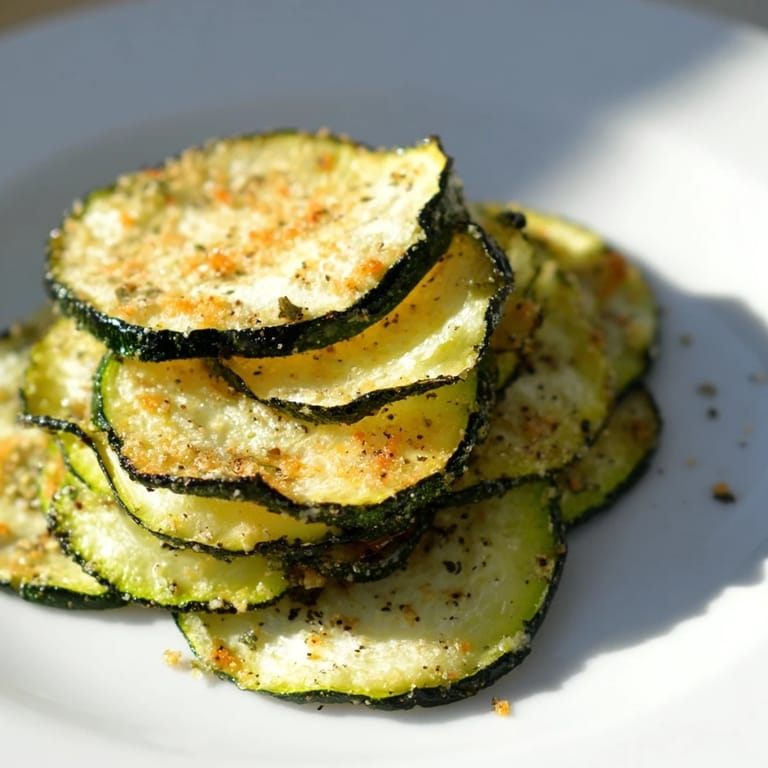
I keep a small jar of everything bagel seasoning near the oven now because it transforms these into something completely different with almost zero effort. A light dusting of grated Parmesan partway through baking creates this incredible savory crust that my husband fights over.
Timing Is Everything
The difference between perfect chips and burnt ones is about ten minutes, so set a timer and check them during that last rotation. Ive learned to pull out the smaller crispy ones while letting thicker pieces finish their time.
Storage Truths
These will soften overnight no matter what you do, but a quick 10 minute toast at 225F brings most of the crunch back. That said, they rarely last long enough to worry about storage at my house.
- Store any leftovers in a paper bag rather than plastic to minimize moisture buildup
- If they soften, spread them on a baking sheet and retoast at 225F for about 10 minutes
- Doubling the recipe works fine, just rotate the pans halfway through so everything bakes evenly
 Save
Save Hope these bring as much crunch to your kitchen as they have to mine.