 Save
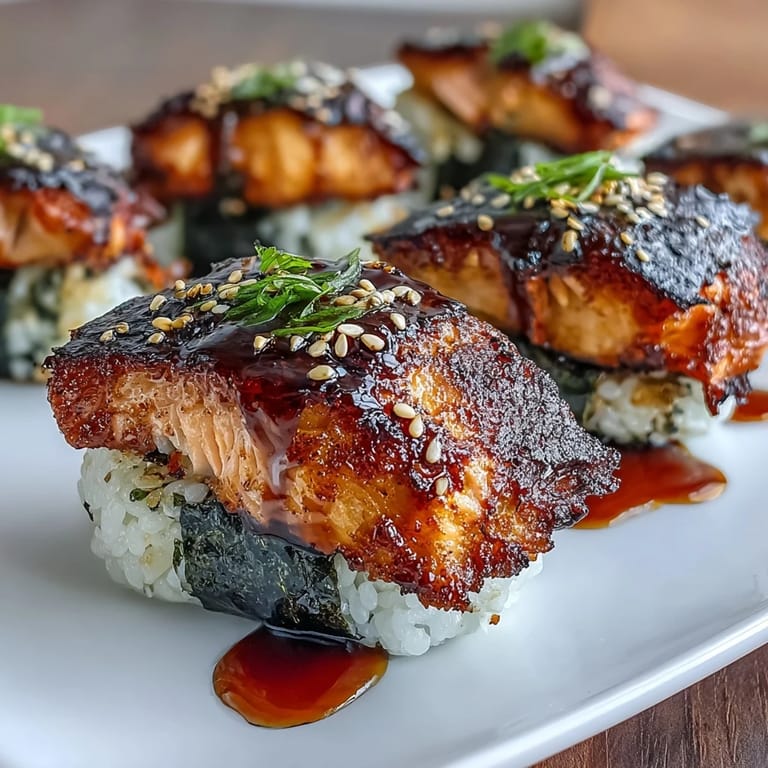
Save Steam in the kitchen and a faint trace of toasted seaweed always remind me of my first attempt at grilled salmon onigiri: it was late spring, and my neighbor arrived clutching an armful of nori sheets straight from a Japanese market. After clumsily molding messy rice balls and discovering the joy of crispy edges, I realized these handheld snacks satisfy just about every craving. The process is tactile, a little playful, and full of surprises. The crackle as the rice hits the hot skillet turns out to be its own sort of reward. Trust me, once you get your hands a little sticky, you'll be hooked.
One rainy Saturday, I pressed little triangles of rice in my palms while my partner looked on, curious and skeptical. Halfway through, I handed him an unfinished onigiri and—before he could protest—we laughed at the lopsided shape, only to realize it tasted amazing anyway. From that afternoon onward, grilled salmon onigiri became our go-to for weekend lunches and fast dinners that somehow feel special, even if nothing goes quite as planned.
Ingredients
- Salmon fillet: Go for fresh, skinless salmon if you can; grilling brings out its natural richness, and a splash of soy sauce and sesame oil gives it depth.
- Soy sauce and mirin: These lend a delicate saltiness and a hint of sweetness, and brushing them on before grilling means every bite of salmon is packed with flavor.
- Japanese short-grain rice: Essential for its sticky, chewy texture—don't be tempted to swap in long-grain rice, or your onigiri will crumble.
- Rice vinegar (optional): A splash adds brightness, though it's just as good simply salted.
- Nori (seaweed): Look for crisp sheets, and don’t fret if they crack a little—practice makes perfect with wrapping.
- White sesame seeds (optional): Toast them, and they’ll add a lovely nutty scent and a bit of crunch to the final result.
- Water and salt for shaping: Wet hands and a touch of salt keep the rice from sticking and season the outside just right.
Tired of Takeout? 🥡
Get 10 meals you can make faster than delivery arrives. Seriously.
One email. No spam. Unsubscribe anytime.
Instructions
- Cook the rice:
- Rinse the rice thoroughly under cool water until it runs clear—the sound alone lets you know starch is washing away. Once cooked and warm, season with salt and optional rice vinegar, gently fluffing with a paddle.
- Grill the salmon:
- Brush your salmon with soy, mirin, and sesame oil, and let it sizzle on the grill or oven tray; the sizzle and aroma will let you know it's ready. Flake it apart gently with a fork, enjoying the savory scent.
- Shape the onigiri:
- Dip your hands in water, then in salt, before cupping a portion of warm rice—flatten slightly and tuck in a spoonful of salmon. With both hands, mold the rice gently around the fish, shaping it into a triangle or oval—don't worry if it's not picture-perfect.
- Crisp them up:
- Heat a grill pan or nonstick skillet with a brush of oil, then add your onigiri—listen for a quiet crackle as they begin to crisp. Flip after a couple minutes, brushing with soy sauce if you want that extra flavor kick.
- Wrap and finish:
- Once golden and cool enough to handle, wrap onigiri with strips of nori and sprinkle with sesame seeds if you like. Serve warm or at room temperature, and enjoy the pleasing contrast between the crisp crust and the pillowy inside.
 Save
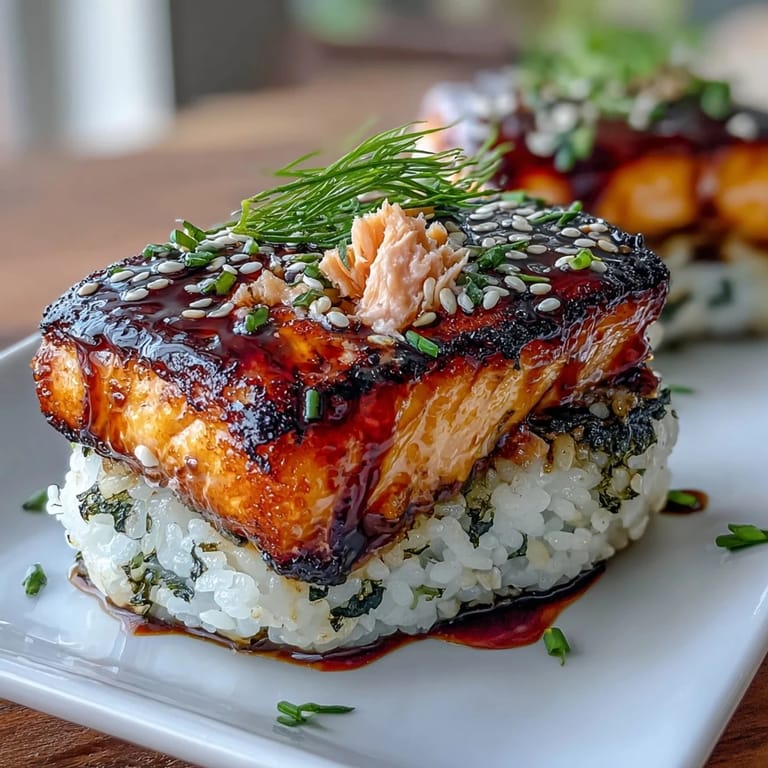
Save I’ll never forget bringing a platter of freshly grilled onigiri to a summer picnic, only for them to vanish in minutes while friends debated which nori-wrapping technique looked the coolest. That afternoon, the onigiri became more than a snack—they were the start of so many short, happy conversations.
When to Crisp the Onigiri
After some trial and error, I found that grilling the onigiri just before serving is ideal—the outsides stay satisfyingly golden and crunchy, while the inside remains soft. If you make them ahead, a quick reheat in a hot skillet brings them right back to life without drying them out.
Fun with Fillings
Don't stop at salmon: a dab of wasabi, a sliver of pickled plum, or even leftover cooked veggies can work as fun surprises inside. Mixing it up has led to some discoveries that made me love this recipe even more.
Onigiri Troubleshooting
No matter how carefully I measure, some shaping attempts turn sticky or wobbly—don't stress, it happens to everyone. If your rice sticks, use more salt water on your hands, and if a ball falls apart, just squeeze a bit more firmly and pretend it was intentional.
- If your triangles look odd, dip the tip of your finger in water and smooth the edges.
- Letting the onigiri cool slightly before wrapping in nori keeps the seaweed crisp.
- A sprinkle of fresh sesame seeds right before serving makes all the difference in flavor and look.
 Save
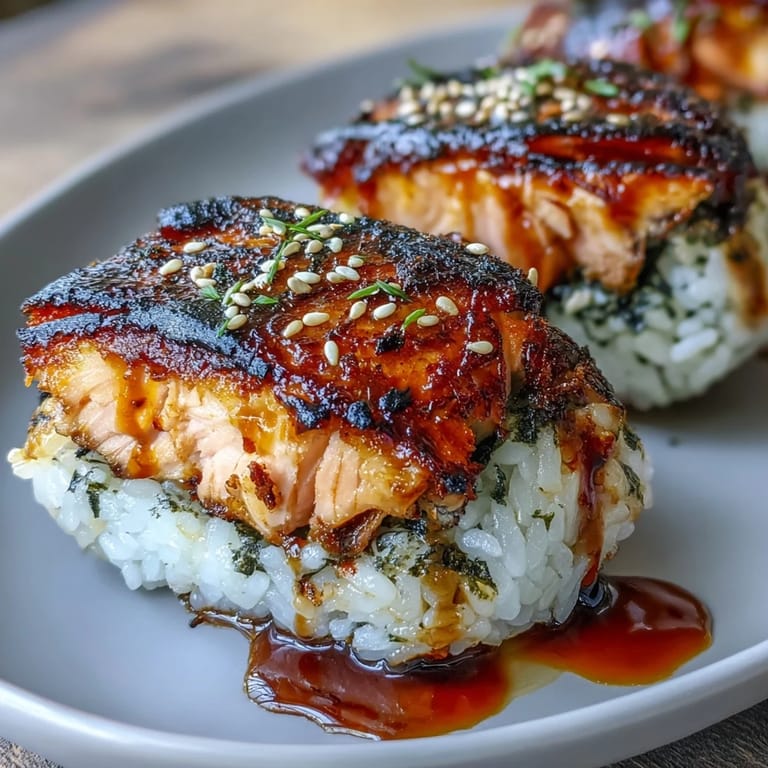
Save Grilled salmon onigiri may not always turn out perfectly shaped, but they're always delicious, even when made with laughter and a little bit of mess. Let these little rice bundles become your new favorite kitchen tradition.
Recipe FAQ
- → Can I use canned salmon instead of fresh?
Yes. Drain and flake canned salmon, adjust salt to taste, and mix with a touch of mirin or soy for extra depth. Fresh salmon offers firmer texture and brighter flavor if available.
- → How do I stop rice from sticking to my hands?
Keep a small bowl of water nearby and wet your palms before shaping. Rub a pinch of salt between wet hands to season and reduce sticking, and work while the rice is still warm.
- → Which rice is best for forming onigiri?
Japanese short-grain rice is ideal because it becomes tender and sticky when cooked, holding shape when molded. Avoid long-grain varieties that’ll fall apart.
- → How can I get a crisp exterior without drying the center?
Use a lightly oiled nonstick skillet or grill pan over medium heat, press gently, and cook 2–3 minutes per side until golden. Brush lightly with soy sauce toward the end for caramelized flavor without overcooking.
- → Can onigiri be made ahead?
Yes. Assemble and refrigerate ungrilled onigiri for a few hours. Grill just before serving to restore crispness. If storing, wrap with nori just before eating to keep it crisp.
- → What flavor additions work well with salmon filling?
Add a small dab of wasabi, a bit of pickled plum (umeboshi), chopped scallions, or sesame oil to the flaked salmon for brightness and balance.