 Save
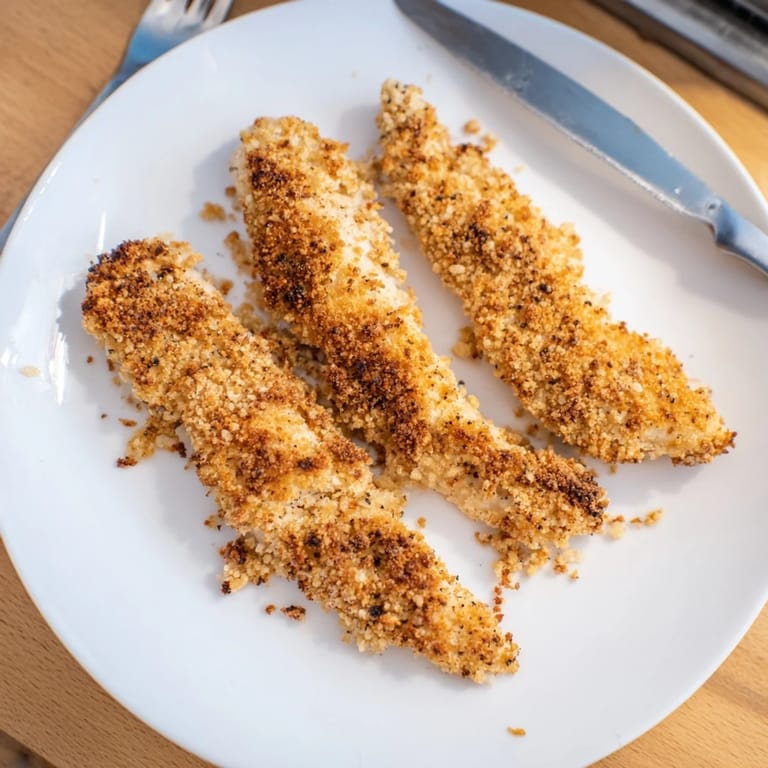
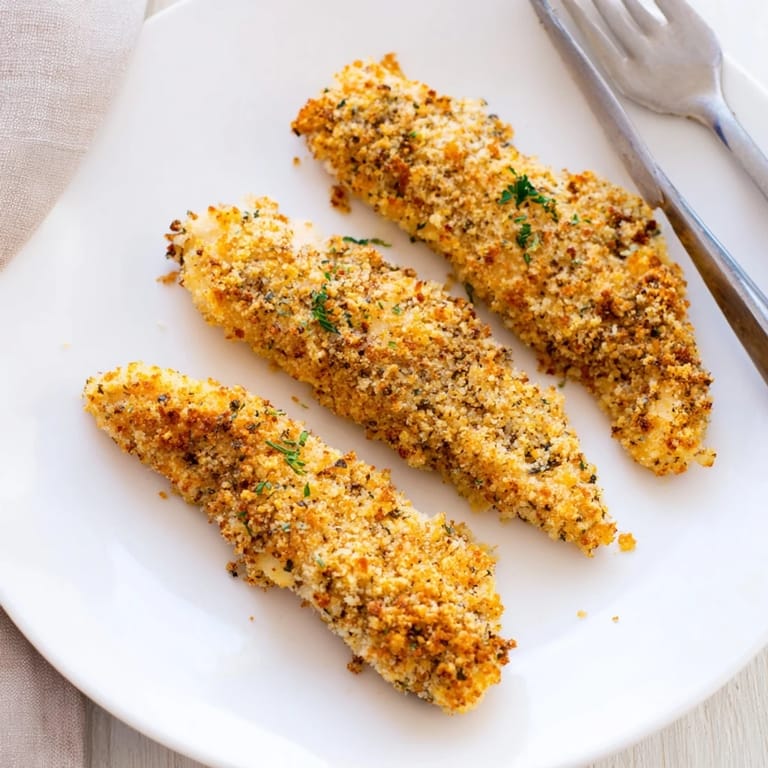
Save My son was going through a picky eating phase, and I was running out of ideas. One Tuesday evening, I remembered the crispy chicken tenders my mom used to make, but I wanted something lighter that still delivered that satisfying crunch. I pulled out a bag of panko breadcrumbs I had bought on a whim and mixed in whatever dried herbs were in the cupboard. The kitchen filled with the smell of garlic and paprika as they baked, and when I pulled them out, golden and crackling, my son ate four strips without a single complaint.
I started making these for casual Friday dinners, and they quickly became the dish my friends requested most. One night, I set out three different dipping sauces just for fun, and we ended up debating which one was best for nearly an hour. The strips stayed crispy even as we talked and laughed, which is something I never managed with traditional fried chicken. Now, whenever someone comes over, they ask if Im making the panko chicken, and I always say yes.
Ingredients
- Boneless, skinless chicken breasts or tenders: I always pat them completely dry with paper towels before seasoning because any moisture will prevent the breading from sticking properly.
- Salt and black pepper: Simple seasoning on the chicken itself ensures every bite has flavor, even before the breading adds its magic.
- All-purpose flour: This first layer creates a dry surface that helps the egg mixture cling, which I learned after a few early batches where the breading slid right off.
- Eggs and mayonnaise: The mayonnaise makes the egg wash thicker and helps the panko adhere better than eggs alone, plus it adds a subtle richness.
- Panko breadcrumbs: These Japanese-style breadcrumbs are larger and airier than regular ones, which is exactly why they bake up so incredibly crispy.
- Dried Italian herbs: I use a mix of oregano, thyme, and basil, but any herb blend you love will work beautifully here.
- Garlic powder and smoked paprika: These two add depth and a gentle smokiness that makes the strips taste more complex than they actually are.
- Cayenne pepper: Just a pinch adds warmth without making them spicy, though I leave it out when cooking for my younger kids.
- Olive oil: A light drizzle before baking helps the panko turn golden and crispy, mimicking the effect of frying without all the oil.
Tired of Takeout? 🥡
Get 10 meals you can make faster than delivery arrives. Seriously.
One email. No spam. Unsubscribe anytime.
Instructions
- Preheat and Prep:
- Set your oven to 220°C (425°F) and line a baking sheet with parchment paper or, even better, a wire rack so air circulates underneath. This small step makes a huge difference in crispiness.
- Prepare the Chicken:
- Pat the chicken completely dry and cut it into strips about 2 cm wide, keeping them as uniform as possible so they cook evenly. Season both sides with salt and pepper.
- Set Up Your Breading Station:
- Arrange three shallow bowls in a row: one with flour, one with eggs whisked together with mayonnaise until smooth, and one with panko mixed with all the herbs and spices. This assembly line makes the coating process quick and tidy.
- Coat the Chicken:
- Dredge each strip in flour, shake off the excess, dip it into the egg mixture, then press it firmly into the panko so every surface is covered. I use one hand for wet ingredients and one for dry to avoid clumpy fingers.
- Arrange and Oil:
- Place the coated strips on your prepared baking sheet, leaving a little space between each one. Drizzle or spray them lightly with olive oil, which helps them brown beautifully.
- Bake:
- Bake for 18 to 22 minutes, flipping them halfway through so both sides get golden and crispy. Theyre done when the internal temperature reaches 74°C (165°F) and the coating is deeply golden.
- Rest Before Serving:
- Let them cool for 2 to 3 minutes on the baking sheet. This brief rest allows the coating to firm up and reach maximum crispiness.
 Save
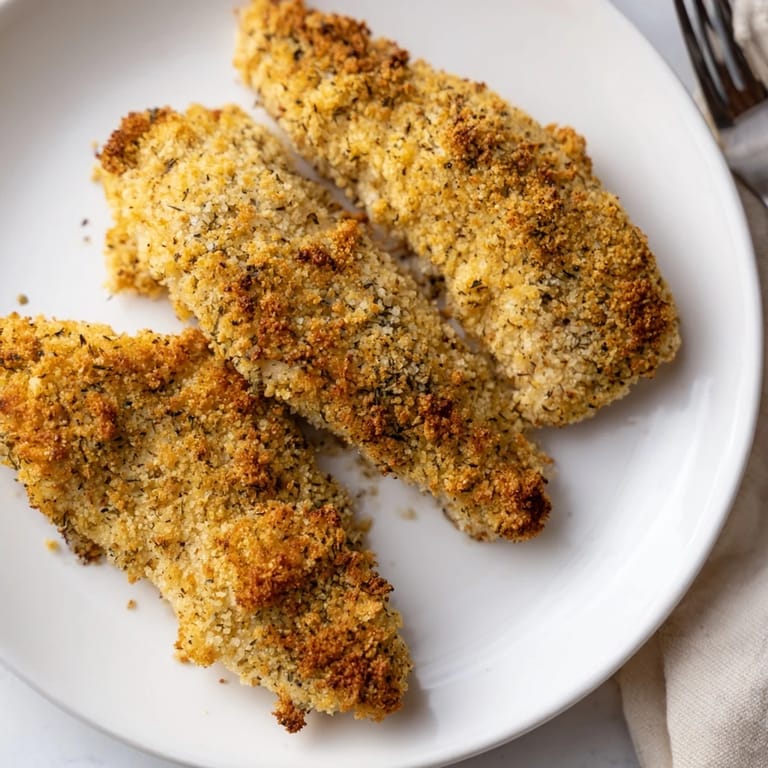
Save The first time I served these at a small dinner party, I worried they wouldnt feel special enough. But as my friends reached for second and third helpings, dipping them into honey mustard and laughing about whose was crispier, I realized that simple food made well is often the most memorable. These chicken strips have become my go-to whenever I want to feed people something comforting and delicious without spending hours in the kitchen.
Serving Suggestions
I love serving these with a variety of dipping sauces so everyone can choose their favorite. Honey mustard is classic and sweet, ranch is creamy and cooling, and spicy sriracha mayo adds a kick that my husband adores. A simple green salad or roasted vegetables on the side makes it feel like a complete meal, though honestly, sometimes we just eat them straight off the baking sheet with napkins and call it dinner.
Make It Your Own
Once you master the basic recipe, its easy to adapt to your taste. I sometimes add grated Parmesan to the panko mixture for a salty, nutty flavor, or swap the Italian herbs for Cajun seasoning when I want something bolder. For gluten-free guests, I use gluten-free panko and flour, and the texture is nearly identical. You can also use Greek yogurt instead of mayonnaise in the egg wash for a lighter, tangier version.
Storage and Reheating
Leftovers keep well in an airtight container in the fridge for up to three days, and I often pack them in lunchboxes the next day. To reheat, I place them on a baking sheet in a 200°C (400°F) oven for about 8 minutes, which brings back most of the original crispiness. Microwaving works in a pinch, but the coating will soften, so the oven is always worth the extra few minutes.
- Use a wire rack when baking for the crispiest results, as it allows air to circulate all around the chicken.
- Dont skip the olive oil drizzle, it helps the panko brown and adds just enough richness without deep frying.
- Cut the strips to a uniform size so they all finish cooking at the same time and nobody gets an overcooked or undercooked piece.
 Save
Save These crispy panko chicken strips have earned their place in my weekly rotation, and I hope they bring the same easy joy to your table. Theyre proof that you dont need a deep fryer to make something truly satisfying.
Recipe FAQ
- → How do I keep the panko coating crispy?
Use a wire rack on your baking sheet to allow air circulation underneath the chicken. Flip halfway through baking and serve immediately after cooling for 2-3 minutes. Avoid covering with foil, as steam will soften the coating.
- → Can I prepare these ahead of time?
Yes, you can bread the chicken strips and refrigerate them for up to 24 hours before baking. For freezing, place breaded strips on a tray, freeze for 2 hours, then transfer to freezer bags for up to 3 months. Add 2-3 minutes to baking time when cooking from frozen.
- → What's the best way to check if the chicken is cooked through?
Use a meat thermometer to ensure the internal temperature reaches 165°F (74°C) at the thickest part. Alternatively, cut into the largest strip—no pink should remain inside, and juices should run clear.
- → How can I make this gluten-free?
Substitute regular all-purpose flour with gluten-free flour and use certified gluten-free panko breadcrumbs. The rest of the ingredients are naturally gluten-free. Always verify that your mayonnaise or Greek yogurt meets gluten-free standards.
- → What dipping sauces pair well with this dish?
Try honey mustard for a tangy-sweet option, homemade ranch for a classic pairing, or spicy sriracha mayo for heat. Lemon aioli, barbecue sauce, or a simple garlic yogurt dip also complement the herbed panko coating beautifully.
- → Can I use chicken thighs instead of breasts?
Yes, chicken thighs work well and stay more moist during baking. Pound them to uniform thickness before breading. You may need an extra 2-3 minutes of baking time since thighs are typically thicker than tenders.