 Save
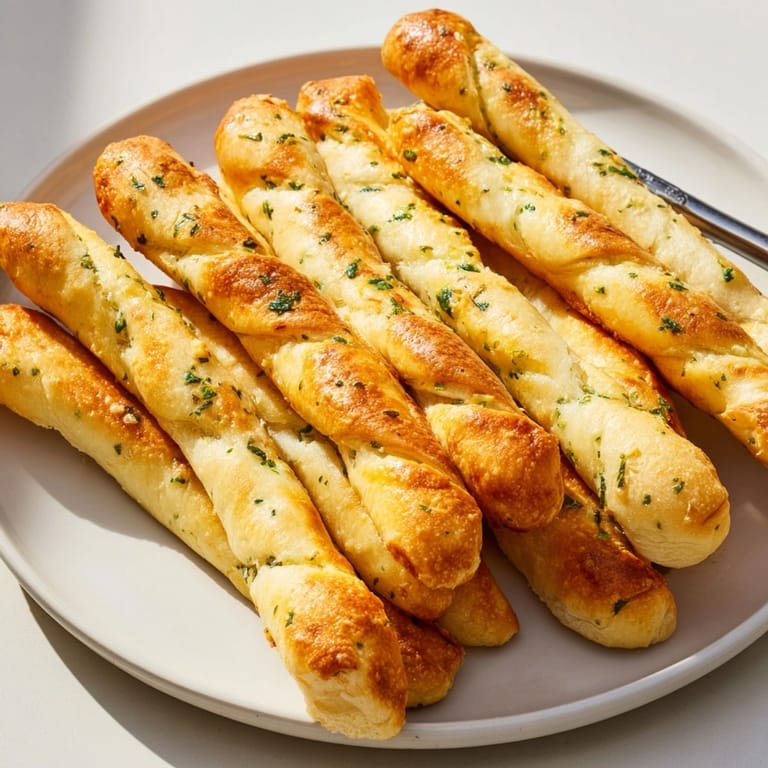
Save Buttery homemade garlic onion breadsticks always vanish faster than I expect at family get-togethers. They are soft and pillowy, brushed with a fragrant garlic and onion butter, and just the thing to serve with soup, salad, or piled into a bread basket for sharing.
I started making these breadsticks when I wanted something fresher and more flavorful than the store-bought version. The first time my kitchen filled with the aroma of garlic butter, I knew I was onto a regular favorite, and now my family requests these for every spaghetti night.
Ingredients
- Active dry yeast: gives the breadsticks their classic rise and airy crumb always use fresh for best results
- Warm water: activates the yeast and brings everything together use water about the temperature of a warm bath
- Granulated sugar: feeds the yeast and ensures soft texture and golden color double check your sugar is fresh and clump-free
- All-purpose flour: builds the structure of the dough use a good quality, unbleached flour for best bread flavor
- Salt: brings out the flavors and balances the mild richness of the bread fine sea salt dissolves well in dough
- Olive oil: creates a tender breadstick and subtle flavor choose extra virgin for a better result
- Unsalted butter: forms the base of the garlic-onion topping always melt it gently so it does not separate
- Fresh garlic: gives bold punchy aroma and taste if possible use cloves that are firm and plump
- Finely minced onion: adds sweetness and depth small yellow onions are flavorful and not too sharp
- Fresh parsley: offers herby brightness optional but recommended for color and fresh lift
- Extra salt: for seasoning the finishing butter topping
Tired of Takeout? 🥡
Get 10 meals you can make faster than delivery arrives. Seriously.
One email. No spam. Unsubscribe anytime.
Instructions
- Mix Yeast and Sugar in Water:
- In a large bowl dissolve the yeast and sugar completely in warm water. Wait five minutes until the surface becomes foamy. This means the yeast is active and ready.
- Make the Dough:
- Add the flour salt and olive oil directly to the yeast mixture. Stir with a wooden spoon or use a dough hook until you create a soft shaggy dough.
- Knead the Dough:
- Turn the dough out onto a lightly floured counter. Knead by hand for five to seven minutes until it is perfectly smooth elastic and not sticky. This step develops gluten for chewy breadsticks.
- First Rise:
- Transfer the dough to an oiled bowl and turn it once to coat. Cover tightly with a towel or wrap. Let it sit in a warm spot for an hour or until doubled in size.
- Shape the Breadsticks:
- Punch the dough down to release air. Divide dough into twelve even pieces. Roll each piece into a rope about seven inches long by evenly stretching with your fingers.
- Prepare for Baking:
- Line a baking sheet with parchment paper. Arrange the shaped breadsticks with space between each so they can expand without sticking.
- Mix Garlic-Onion Butter:
- In a bowl stir together melted butter freshly minced garlic finely chopped onion optional parsley and a pinch of salt. The mixture should smell incredibly fragrant.
- Butter the Breadsticks:
- With a pastry brush generously coat the unbaked breadsticks with half of the garlic-onion butter. This allows butter to soak in during baking.
- Bake:
- Place the baking sheet in a fully preheated oven at 400 degrees Fahrenheit. Bake for thirteen to fifteen minutes until the tops are beautifully golden and edges slightly crisp.
- Finish with More Butter:
- Remove breadsticks from oven while hot. Immediately brush with remaining garlic-onion butter to lock in flavor and add glossy finish.
- Serve Warm:
- Transfer your breadsticks to a cooling rack for a few moments. Serve while still warm for maximum softness and aroma.
 Save
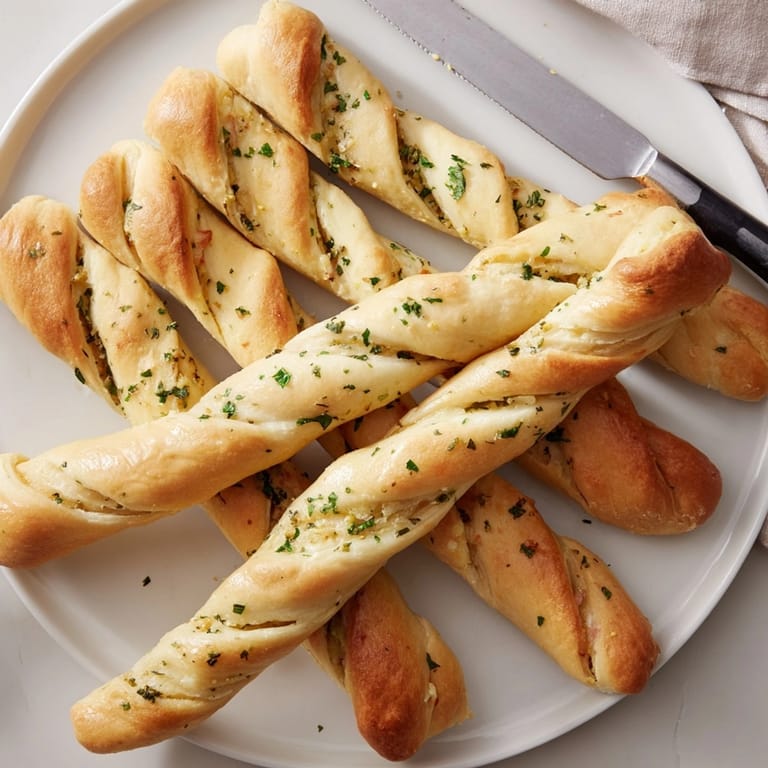
Save I always sneak an extra spoonful of garlic for maximum flavor and love seeing everyone reach for seconds. One of my best memories is making these with my kids during a snow day rolling out little breadstick ropes and brushing them with butter together.
Storage Tips
Keep leftover breadsticks in a sealed bag or covered dish at room temperature for up to two days. To enjoy them warm again wrap loosely in foil and reheat in a three-hundred-fifty degree oven for several minutes. They also freeze beautifully just thaw and refresh with a little extra butter.
Ingredient Substitutions
You can use bread flour instead of all-purpose for chewier results. For a dairy-free version swap in vegan butter for the topping. If fresh garlic or onion is not available a pinch of granulated versions can work but will deliver a milder flavor. Whole wheat flour can be swapped for one cup to add a little hearty flavor without losing softness.
Serving Suggestions
Perfect with pasta dinner but also great tucked into a lunchbox next to your favorite dip or spread. I love serving them hot with a whipped feta or marinara sauce whenever we have friends over for game night. Torn in half they even work in place of a bun for mini sandwiches.
Cultural Context
Inspired by classic Italian-American restaurants these breadsticks put a homemade twist on the beloved appetizer baskets you find at pizzerias. Simple buttery dough and generous garlic topping are a signature that fits every table from casual to celebratory.
Seasonal Adaptations
Swap parsley for chopped basil or rosemary in summertime for a garden-fresh touch Add a dusting of grated Parmesan for a richer winter breadstick Top with toasted sesame seeds or poppy seeds for extra crunch in the spring
Success Stories
My neighbor told me she brought a basket of these to a block party and had strangers coming over to ask for the recipe. Even my pickiest eater counts these as a top five favorite bread item and helps by mixing the dough on weekends.
Freezer Meal Conversion
Bake the breadsticks as usual cool completely and freeze in sturdy freezer bags. Reheat straight from the freezer in a warm oven for a homemade treat anytime. You can even portion out dough ropes and freeze before baking then let them thaw and rise for fresh breadsticks on demand.
 Save
Save These breadsticks make any meal memorable and are guaranteed to impress guests or delight your family. Enjoy their warm, pillowy texture with every bite.
Recipe FAQ
- → What type of flour works best for these breadsticks?
All-purpose flour is ideal, ensuring softness and good texture. Bread flour is an alternative for extra chewiness.
- → Can I prepare the dough ahead of time?
Yes, the dough can be made in advance. Let it rise, shape, and refrigerate until ready to bake.
- → How do I store leftover breadsticks?
Keep breadsticks in an airtight container at room temperature for up to two days. Reheat before serving.
- → Can I add cheese to the breadsticks?
Absolutely. Grated Parmesan or mozzarella can be sprinkled before baking for a cheesier twist.
- → What is the best way to freeze and reheat?
Freeze cooled breadsticks in an airtight bag. Reheat in a 350°F (175°C) oven until warm and fragrant.
- → Can I adjust the garlic or onion quantities?
Customize the flavor intensity by increasing or decreasing the garlic and onion amounts to your taste.