 Save
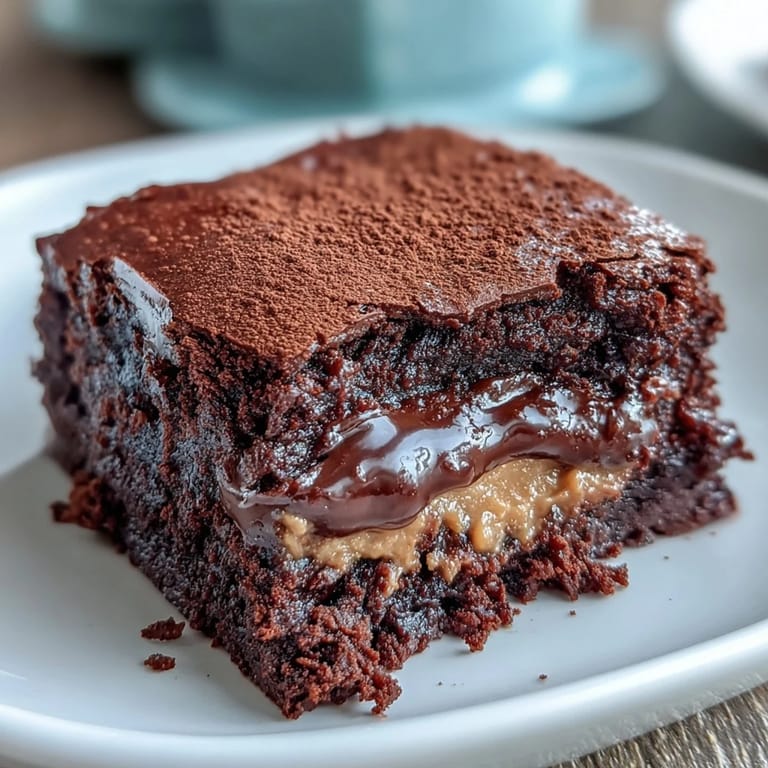
Save My sister called me in a panic last summer—she'd committed to bringing dessert to her book club and completely forgotten until that morning. I suggested brownies, but she wanted something with more personality, something that would make people actually remember what they ate. That's when peanut butter cups came up, and suddenly we were layering fudgy chocolate with those little cups of nostalgia, and honestly, it became the kind of dessert people ask for by name at parties.
I made these for my nephew's birthday party and watched a six-year-old take one bite and go completely quiet—that stunned, reverent silence kids get when something is actually good. His mom texted me three days later asking for the recipe because he'd requested them for breakfast the next morning, which felt like both a compliment and a gentle reminder that I'd probably created a monster.
Ingredients
- All-purpose flour (1 cup/125 g): This is your structure; don't skip the sifting motion even if you're not officially sifting, because cocoa powder clumps like nobody's business.
- Unsweetened cocoa powder (1 cup/80 g): The backbone of that deep, non-cloying chocolate flavor—splurge a tiny bit here if you can, it actually matters.
- Baking powder (1/2 teaspoon): Just enough lift to keep these tender and almost cake-like in texture.
- Salt (1/2 teaspoon): The secret ingredient that makes chocolate taste more like chocolate.
- Unsalted butter, melted (1 cup/225 g): Melted butter gives you that fudgy crumb instead of a cakey one, so don't skip that step.
- Granulated sugar (2 cups/400 g): This feeds the brownie its richness and helps create that crackly top.
- Large eggs (4): They bind everything while adding moisture and a tender crumb; room temperature eggs mix in more smoothly if you're being particular.
- Vanilla extract (2 teaspoons): A small but real flavor boost that rounds out the chocolate without announcing itself.
- Semi-sweet chocolate chips (1 cup/175 g): Extra chocolate moments folded throughout, because why not.
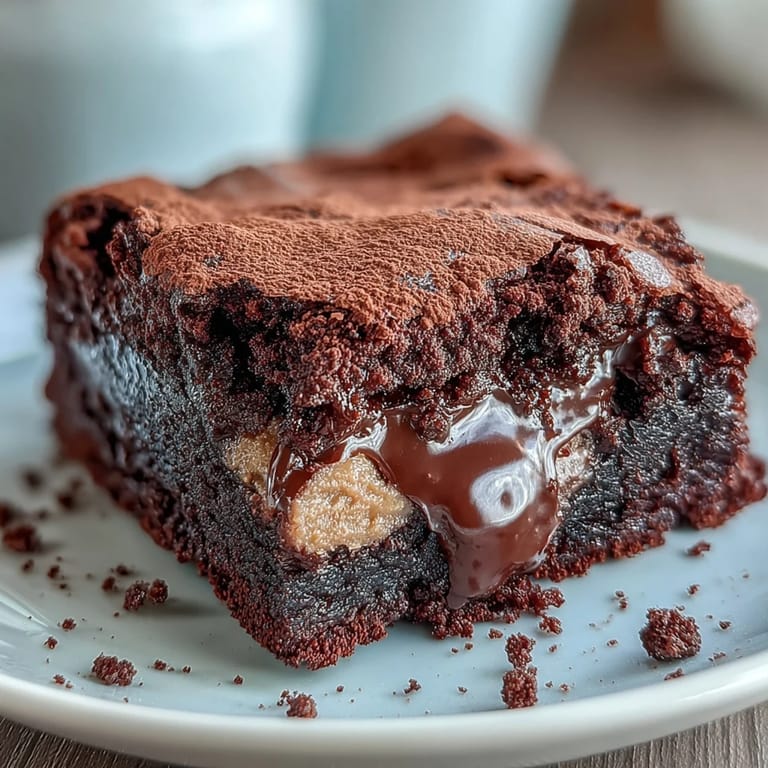
- Mini peanut butter cups (16): The star of the show; they stay intact and create little pockets of salty-sweet throughout the brownie.
Tired of Takeout? 🥡
Get 10 meals you can make faster than delivery arrives. Seriously.
One email. No spam. Unsubscribe anytime.
Instructions
- Get your oven and pan ready:
- Preheat to 350°F and line your 9x13-inch pan with parchment paper, making sure it drapes over the sides so you can lift the whole thing out later—this is not the moment to skip this step. Having everything ready means you're not scrambling with wet hands and cocoa powder everywhere.
- Whisk the dry ingredients:
- Combine flour, cocoa powder, baking powder, and salt in a medium bowl, getting them really mixed so the cocoa distributes evenly and you don't end up with chocolate-y patches and plain patches. A whisk actually matters here more than you'd think.
- Build the wet base:
- Melt your butter with the sugar and whisk until it looks glossy and slightly grainier than plain melted butter—this is where the richness lives. It only takes a minute, but the texture shift is real.
- Add the eggs slowly:
- Crack eggs in one at a time, mixing after each addition, because dumping them all in at once can make the batter separate and temperamental. This takes literally two minutes and changes everything about the final texture.
- Fold, don't beat:
- Once you add your dry ingredients to the wet mix, switch to a gentle folding motion with a spatula—overmixing develops gluten, which makes brownies tough and cakey instead of fudgy. You'll see some streaks of flour at the end and that's perfect.
- Add the chocolate chips:
- Fold them in gently so they stay whole and distributed throughout rather than crushed.
- Layer strategically:
- Spread half the batter evenly across the bottom of the pan, arrange your peanut butter cups in a grid pattern so every slice gets one, then carefully spoon the remaining batter over top and smooth it out so the cups are mostly covered but not suffocated. A slightly damp spatula helps with this.
- Bake with precision:
- The magic window is 28 to 32 minutes; you're looking for a toothpick that comes out with a few moist crumbs still clinging to it, not completely clean. Overbaking is the only real mistake you can make here.
- Cool completely:
- I know it's torture, but letting them cool all the way in the pan makes them set properly so they cut into clean squares instead of crumbling. This takes at least an hour, but it's worth the wait.
 Save
Save There was this one winter afternoon when I made these while my best friend sat at my kitchen counter going through a rough breakup, and we just existed together in the smell of chocolate and butter, and by the time they came out of the oven, she was laughing again. That's when I realized these brownies do something beyond taste good—they create a reason for people to gather.
Storing and Reheating
Keep these in an airtight container at room temperature for up to five days, though honestly they rarely last that long. If you want to reheat a square, 20 seconds in the microwave brings back that fudgy warmth without drying them out.
Variations and Swaps
The peanut butter cups are the anchor, but everything else is negotiable depending on what's in your pantry or what mood you're in. I've made these with dark chocolate chips instead of semi-sweet, which leans the flavor more sophisticated; I've swapped half the peanut butter cups for crushed pretzels; once I drizzled melted white chocolate over the top and nobody complained.
Serving Suggestions and Final Thoughts
Serve these warm with vanilla ice cream if you want to be fancy, or straight from the container if you want to be honest. They're equally good at a dinner party or eaten standing in front of the fridge at midnight, which is probably the true test of a recipe's worth.
- If you're bringing these somewhere, cut them in the pan, then transfer to a container so they're already portioned and ready.
- A drizzle of melted peanut butter or chocolate over the cooled brownies adds an extra layer of decadence without much effort.
- These freeze beautifully for up to three months, so baking a double batch and stashing them is absolutely a reasonable life choice.
 Save
Save These brownies hit that rare sweet spot of being genuinely impressive while remaining completely achievable, even on days when your brain feels like brownies itself. Make them, share them, and watch what happens when chocolate and peanut butter come together under the right circumstances.
Recipe FAQ
- → How can I ensure fudgy brownies?
Use unsweetened cocoa powder and avoid overmixing the batter to maintain a dense, moist crumb.
- → Can I substitute the peanut butter cups?
Yes, try caramel candies or chocolate hazelnut spread for different flavors without affecting texture.
- → What’s the best way to bake brownies evenly?
Line your pan with parchment and bake at 350°F, checking with a toothpick to avoid overbaking.
- → How to store these brownies?
Place in an airtight container at room temperature for up to 3 days or refrigerate for longer freshness.
- → Can I add more chocolate chips?
Absolutely, folding in additional semi-sweet chips enhances the chocolate flavor and texture.