 Save
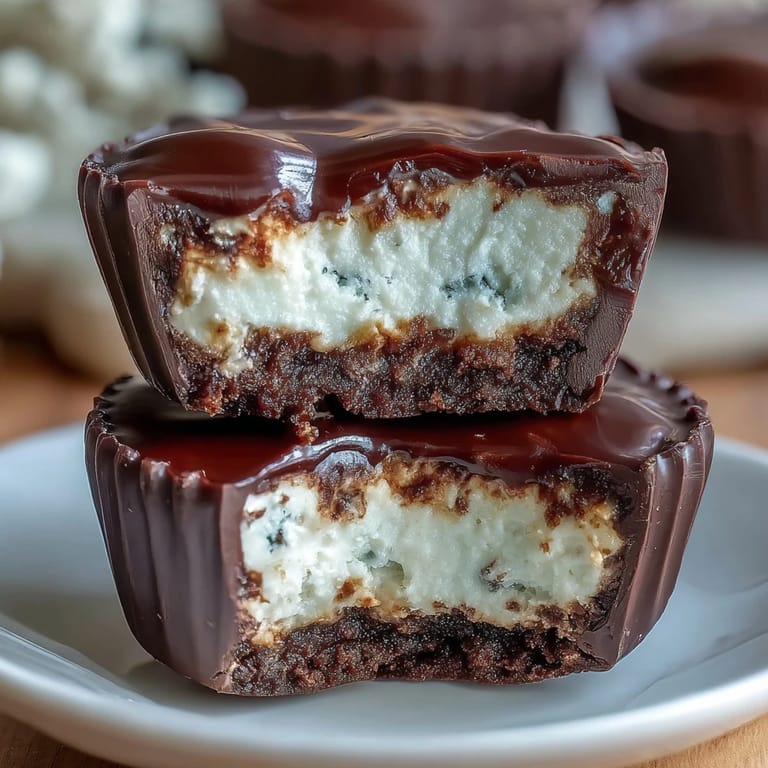
Save There's something almost rebellious about making your own protein-packed peanut butter cups at home—no guilt, no weird ingredients, just chocolate, peanut butter, and Greek yogurt doing exactly what you want them to do. I stumbled onto this combination during a particularly ambitious meal prep Sunday when I was tired of the same protein bars and wanted something that actually tasted like a treat. The moment I bit into that first homemade cup and felt the creamy yogurt center give way to rich chocolate, I knew I'd found something worth repeating.
I made a double batch for my sister's office potluck, and watching people's faces when they realized these weren't store-bought was honestly the highlight of my week. Someone asked if I'd used a fancy peanut butter brand, and the answer was just natural peanut butter plus the willingness to layer things carefully—a good reminder that technique often matters more than starting with premium ingredients.
Ingredients
- Dark chocolate (200 g, 70% cocoa or higher): Go darker than you think you need—it keeps the sweetness balanced when you're already adding honey and yogurt, and it sets up cleaner in the freezer.
- Coconut oil (1 tbsp): This is the secret to chocolate that melts on your tongue; it keeps the coating from getting that waxy, rigid feel that store-bought cups sometimes have.
- Natural peanut butter (120 g): The kind where oil separates on top—that's actually a sign it's good, and it integrates better into the protein powder layer.
- Vanilla or unflavored whey protein powder (1 scoop, about 30 g): Don't overthink the brand here, but do taste it first if you're using flavored powder, since some vanilla powders can taste chemical-forward.
- Greek yogurt (180 g, full-fat or 2%): Full-fat is richer and creamier, but 2% works fine if that's what you have—the difference is subtle but worth noting.
- Honey or maple syrup (2 tbsp total): Maple syrup brings earthiness; honey is cleaner and slightly more neutral—pick whichever matches your mood.
- Vanilla extract (1 tsp): A tiny amount that rounds out the yogurt filling without making it taste like vanilla frosting.
- Salt (pinch): Amplifies the chocolate and peanut butter without making anything taste salty.
Tired of Takeout? 🥡
Get 10 meals you can make faster than delivery arrives. Seriously.
One email. No spam. Unsubscribe anytime.
Instructions
- Set up your station:
- Line your muffin tin with paper liners first, while you're thinking clearly—trying to do this once the chocolate is melted is frustrating. It takes 30 seconds and saves you from being rushed later.
- Melt the chocolate properly:
- Microwave in 30-second bursts, stirring between each one; this gentle approach keeps the chocolate from seizing or turning grainy. You'll know it's ready when it's completely smooth and pours like silk.
- Create the chocolate base:
- Spoon about a teaspoon into each liner and use the back of your spoon to coat the bottom and creep slightly up the sides. The key is not overspreading—you want just enough that it clings to the paper without pooling.
- Freeze the base:
- Ten minutes in the freezer is enough for the chocolate to set firm; any longer and you risk the filling not sticking to it later. Set a timer so you don't zone out.
- Prepare your fillings:
- Mix the peanut butter layer until smooth (the protein powder can clump, so work it in slowly), then whisk the yogurt filling until creamy and uniform. Having both ready before you go back to the tin keeps momentum.
- Build the layers:
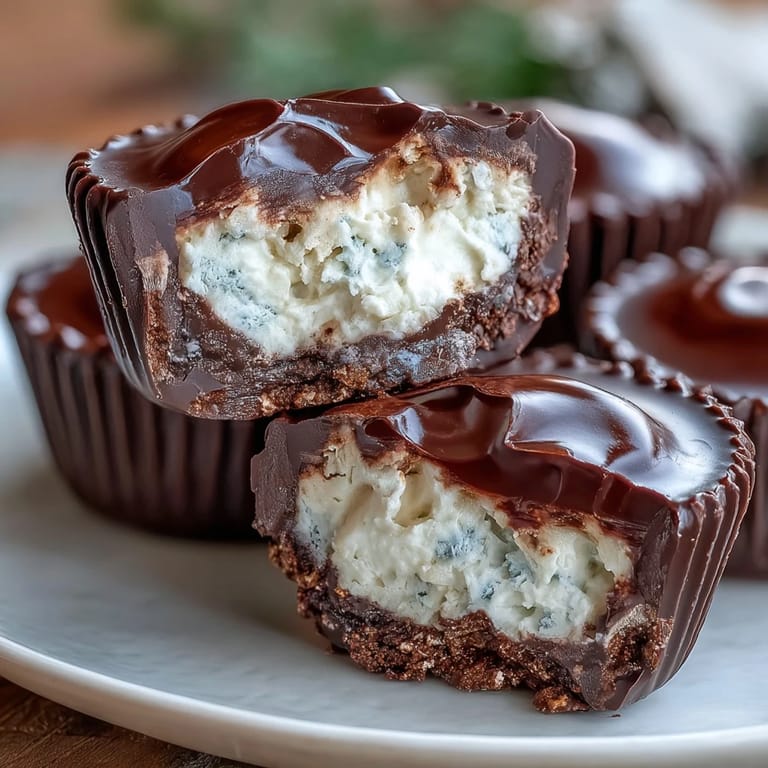
- Place a small teaspoon of peanut butter mixture on each chocolate base, flatten it gently with your spoon, then top with yogurt and flatten again. This creates distinct layers that stay defined rather than blending into one thick middle.
- Seal with chocolate:
- Cover each cup with the remaining melted chocolate, making sure to close the seal completely around the edges. You want no yogurt peeking through, or it'll seep out during freezing.
- Freeze until firm:
- At least 1 hour, though I usually leave mine overnight because they're actually easier to remove from the papers when they're rock solid. Once set, you can store them in the fridge in an airtight container for up to a week.
 Save
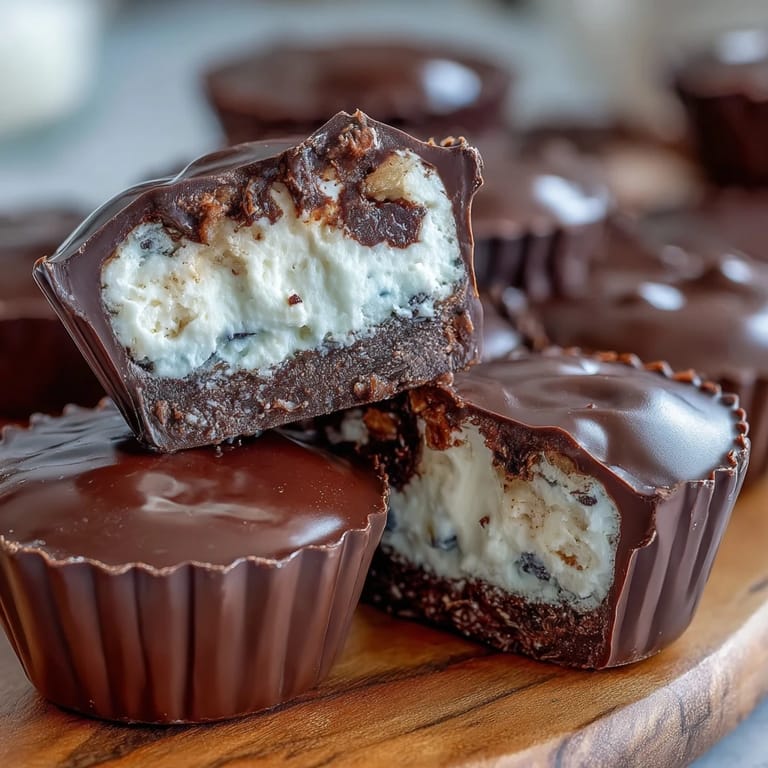
Save There's a moment between the freezing and the eating when you open the container and see your homemade cups sitting there—clean lines, shiny chocolate, perfect little discs of your own making—and you realize you've made something genuinely better than what you'd buy. That feeling of small accomplishment is part of why I keep coming back to this recipe.
Flavor Variations That Actually Work
Swapping ingredients here is easier than it sounds because the structure is flexible. I've replaced the peanut butter with almond butter for a lighter nod, and the yogurt filling takes on a slightly different tanginess depending on the brand you use—Fage tastes creamier, Chobani a bit tangier. The chocolate percentage matters too; I once went too dark (85% cocoa) and the bitterness competed with the sweetness, so I've settled on 70% as the sweet spot that lets every layer shine.
Storage and Timing
These are best eaten straight from the fridge, when they have that pleasant firmness without being frozen solid. I usually pull a couple out 10 minutes before eating so the chocolate softens just slightly and the filling becomes creamy rather than dense. They'll keep for about a week if stored in an airtight container, though I've never had a batch last that long in my house.
Why This Actually Wins as a Snack
What surprised me most about these is how satisfying they are—you're not reaching for a third one within 20 minutes like you might with store-bought cups. The protein keeps you fuller longer, the chocolate is rich enough that a little goes a long way, and the yogurt adds a creamy texture that makes your brain register this as genuinely decadent. They work as a post-workout snack, an afternoon pick-me-up, or a guilt-free dessert after dinner, which is basically the definition of a recipe worth making.
- Make them on a Sunday and you have grab-and-go nutrition for the whole week.
- If you're avoiding sugar, use stevia or monk fruit sweetener instead of honey—the ratio stays the same.
- They also work beautifully as a homemade gift if you pack them in a nice container and explain the protein content.
 Save
Save These cups prove that homemade doesn't have to mean complicated—it just means intentional and done with a little care. Once you've made them once, they become the kind of recipe you return to again and again.
Recipe FAQ
- → Can I substitute peanut butter with another nut butter?
Yes, almond or sunflower seed butter can be used for those with peanut allergies or different flavor preferences.
- → How do I ensure the cups set properly?
Freeze the initial chocolate layer before adding fillings and chill the assembled cups for at least one hour until firm.
- → What type of chocolate works best?
Use dark chocolate with at least 70% cocoa for a rich flavor and smooth texture.
- → Can I use flavored protein powder?
Vanilla or unflavored whey protein powders blend well, adding to the creamy texture without overpowering flavors.
- → Is refrigeration necessary after chilling?
Yes, storing in the refrigerator helps maintain firmness and freshness after initial freezing.